
Set up check printing
Choose a check format, adjust print alignment, and save an optional signature.
- Who can do this
- Owners, or people with Manage business settings, roles & permissions; a test print needs View checks
- Where
- Settings, then Check printing
On this page
Check printing settings control the layout used for check PDFs. Owners and people with Manage business settings, roles & permissions can change them. Opening a test check also requires View checks.
Choose the layout
- Open Settings.
- Select Check printing.
- Choose Voucher or Standard under Format.
- Review the switches under What prints.
- Select Save changes.
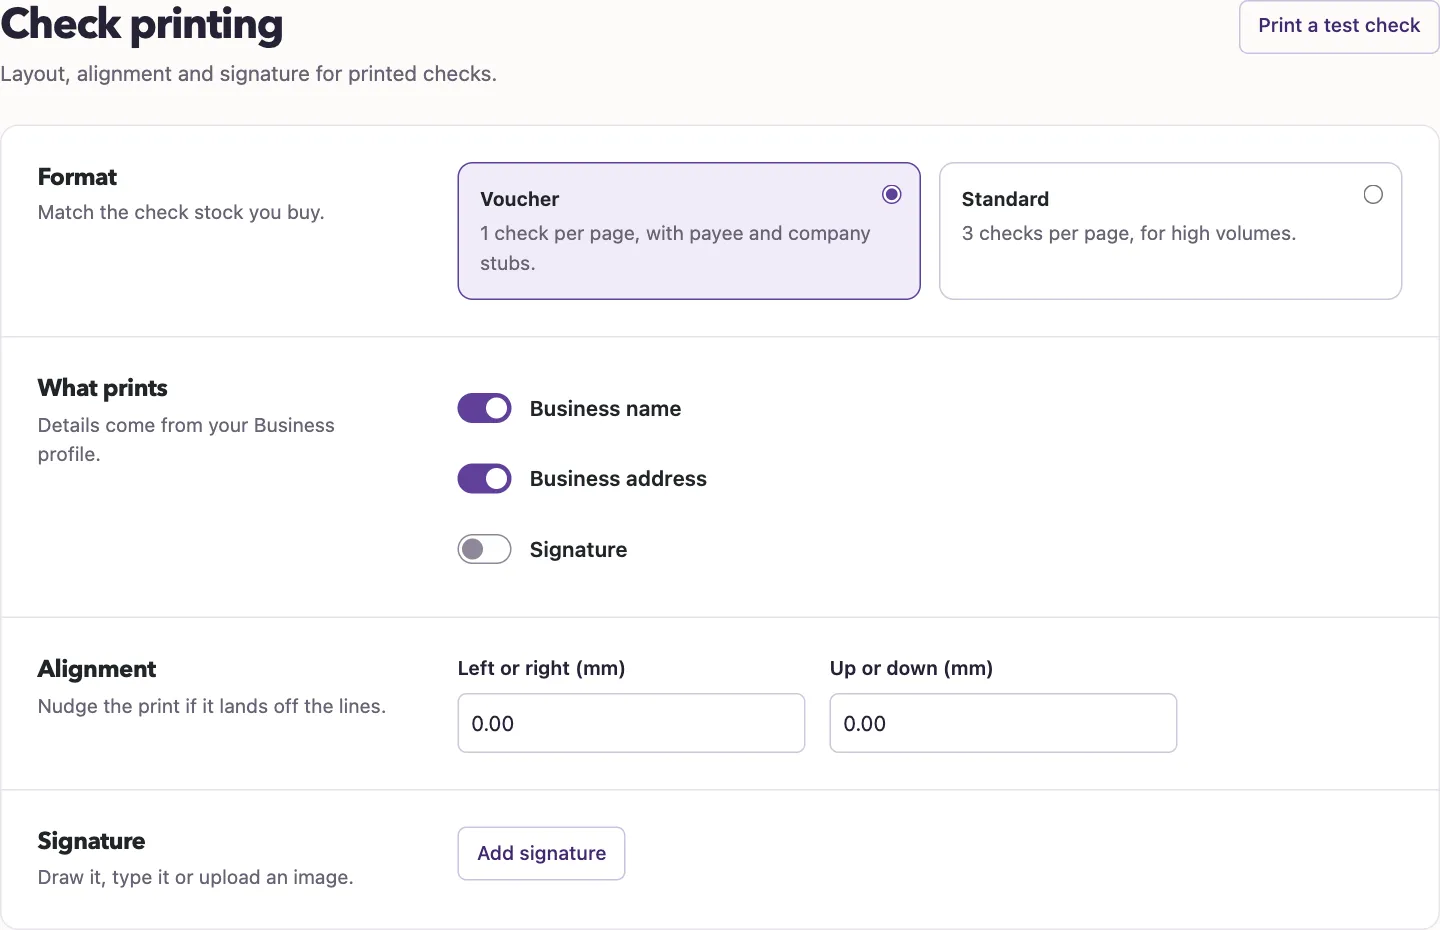
Voucher uses one check per page with two stubs. Standard uses three check positions per page. The business or organization name and address come from the saved profile.
Adjust alignment
- Enter Left or right (mm) if horizontal placement needs adjustment.
- Enter Up or down (mm) if vertical placement needs adjustment.
- Select Save changes.
- Select Print a test check.
- Review the test PDF and repeat as needed.
Both offsets accept values from -25 to 25 millimeters. The test shows zero amounts and alignment markings. It does not create a real check or post a payment. Save before testing so the PDF uses your latest settings.
Add a signature
- Select Add signature or Edit signature.
- Draw, type, or upload a signature.
- Select Apply Signature when using the draw or type option.
- Turn on Signature under What prints if you want it included.
- Select Save changes.
An uploaded signature must be a PNG no larger than 1 MB. The preview lets you inspect it before saving. Remove Signature clears the saved signature when the form is saved and turns signature printing off.
Next, print and confirm checks.